
A spider has ______ legs Coloring Page D'Nealian Twisty Noodle
Step 2 - Now, draw in the body and head. Using the space you left at the top of the abdomen earlier, we shall draw in a body and head for your spider drawing. The body is very rounded and almost circular. At the top of the shape, however, there should be a small yet long lump which will be the head of your spider.

Spider Legs Illustrations, RoyaltyFree Vector Graphics & Clip Art iStock
Step 3: Adding Color to One Set of Legs on the Spider. We will now continue by adding color to the spider drawing. Starting with the aspects of the spider that sit in the foreground we want to now be strategic with how we add color. With the legs, we want to make sure that there is consistency in the coloration.
Spider Legs
This will be your spider face. The next step is to draw another slightly larger circle above the smaller circle from the previous step. Overlap the two circles slightly. The larger circle will be the spider's body. Next, add two large circles at the top of the spider body. Add the face to the spider at this time too.

Spider Legs Illustrations, RoyaltyFree Vector Graphics & Clip Art iStock
Step 2: Add legs to the sketch. Drawing step: Add legs to the sketch. Next, draw some spider legs - four on each side of the body. We will make them just very simple bent lines. A quick and easy sketch, but we can already tell this is going to be a spider.

Spider Legs by gooeyblob on Newgrounds
Draw a long U shape from the left side of the head to the right side. Draw 4 legs near the front of the body. Draw 4 legs near the back of the body. In the head of the spider, draw two eyes and curved line to make the smile. Color the spider.

This is the illustration of the tale of Kumo Onna (spider woman). It
How to Draw a Spider Step by Step Tutorials Easy Drawing for BeginnersLearning how to draw a spider is very simple!In very little time, through a little repe.
Spider Legs Photograph by Florene Welebny Fine Art America
Step 2 - Sketch the Legs of the Spider. With the main body sketched, we can move on to drawing the legs. We need to first plan the placement of the legs and knees, then add thickness to the design. Plan the Leg and Knee Placement. Begin sketching the eight spider legs and two palps. Sketch lines for the legs starting at the carapace and going.

How To Draw Spider. Simple Tutorial. Spider drawing, Bugs drawing
Drawing them might've seemed complicated at first, but as you've seen, there's a trick to it. Breaking it down: Start with a simple body. Slap on those eight legs (making sure they're all wavy and jointed). Add in those tiny details, like eyes and those hair-like things. Drawing's a bit like cooking.

Graceful Grey Spider with Thin Legs, Halloween Illustration Stock Image
Draw four lines coming out of the circle for each of the spider's legs. Step 2: Body and Head Shape. Using the basic shapes, start to draw the spider's body and head. Connect the circle and oval shape to create the spider's body. Add the spider's head by drawing two circles for eyes and a small shape for the mouth. Step 3: Leg Shapes.

Royalty Free Spider Legs Clip Art, Vector Images & Illustrations iStock
In this video tutorial, the artist will show you how to draw a spider in easy steps. First, quickly sketch an oval for the spider's body. Next, draw two lines inside the oval to create the spider's head and legs. Then, connect the legs with lines that curve slightly upward to form pincers at the end of each leg.

Spider Legs Illustrations, RoyaltyFree Vector Graphics & Clip Art iStock
Step 4: Spider's legs. Now it's time to start drawing the spider's legs. It would be a good idea to use a ruler for this step as this will give your child practice with drawing straight lines. Start off by drawing a left diagonal line from the top of the spider's face. Now, draw a straight line skew to the left of that diagonal all the.

Spider Drawing for Kids HelloArtsy
Preparing to the spider's legs. Sketch the palps, and start drawing the spider's legs. The palp is the part of the spider's head that looks like an antenna. Make sure each leg consists of 3 parts. The spider's legs appear to have different directions. So you need to pay attention to them according to the sample images listed.

Spider Legs Digital Art by Long Shot Fine Art America
Now draw 8 spider legs and the base of the web in the form of a snowflake on top. Step 3: Draw the details of the spider's web. Draw the web in more detail by connecting the lines one by one. Step 4: Drawing eyes and mouths. It's time to add a face to our spider. Draw eyes, a mouth, and 2 dots for a nose.
spider legs clipart 20 free Cliparts Download images on Clipground 2021
5. Draw two small circles for the eyes of the spider. 6. Darken the outline for the spider's body. 7. Draw the spider's legs using the zigzag lines as guide. 8. Make the spider hairy by sketching short small strokes on its head and body. Darken the spider's eyes.

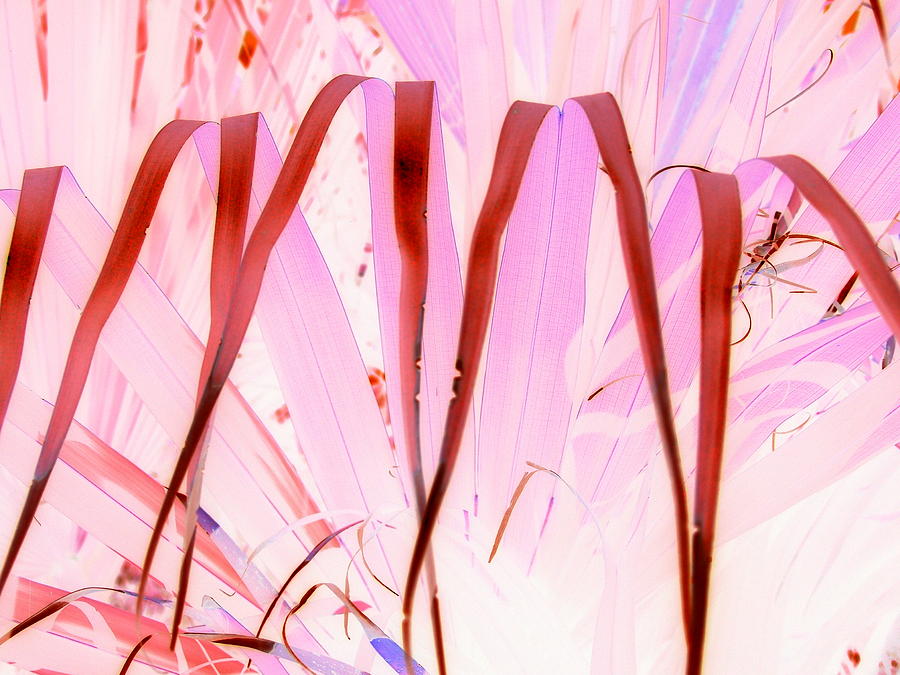
Spider legs Abstract artwork, Spider legs, Abstract
To draw the legs of a spider accurately, start by drawing a central line for the leg and then add two more lines on either side of the central line. The outer lines should be slightly curved to represent the curvature of the leg. Then, add joints to the leg by drawing small circles at each point where the leg bends.

Spider Legs by Acevivi on DeviantArt
2. Draw 8 legs curving down, plus a web thread up top. Most real-life spider legs are also more complex than our streamlined version here, but this one will work: Draw eight skinny legs arching downward. (Yes, if you're wondering how many legs do spiders have, the answer is: the same number as a cute octopus !) 3.